OCO Orders (One Cancels Other)
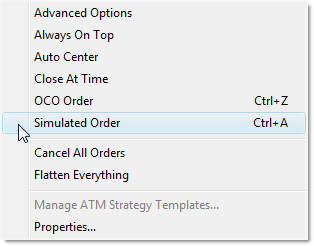
Stop loss and profit target orders (submitted automatically via an ATM strategy) are always sent as OCO, however, you can submit entry or exit orders as OCO orders as well. Why? The market may be trading in a channel and you wish to sell at resistance or buy at support, whichever comes first by placing two limit orders at either end of the channel. To place OCO orders, via the right mouse click context menu select the menu name "" or use the shortcut key CTRL + Z.
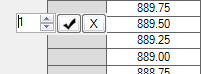
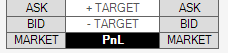
The "oc" (OCO indicator) will light up green. All orders placed while this indicator is lit will be part of the same OCO group. Once any order of this group is either filled or cancelled, all other orders that belong to this group will be cancelled. If you want each OCO order to create it's own set of stop loss and profit target brackets ensure that the Strategy Control List is set to either "" or a strategy template name before you submit each OCO order.
NOTE: It is important to reset the OCO indicator after the completion of submitting an OCO order group otherwise you may run into problems where orders are rejected due to usage of duplicate OCO id values.
Break Out/Fade Entry Example
One of the great features of NinjaTrader is its ability to submit two entry orders, one of which will cancel if the other is filled.
You can accomplish a breakout/breakdown approach by:
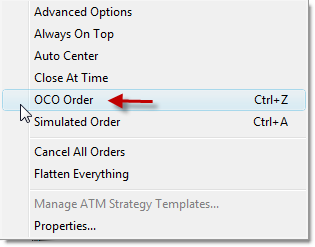
| • | Right click in the SuperDOM and select the menu item "" to enable the OCO function |
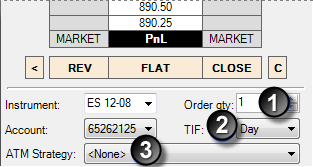
| • | For your first order, select the desired option from the "ATM Strategy" drop down list |
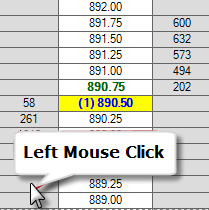
| • | Submit your stop order to buy above the market |
| • | For your second order, select the desired option from the "ATM Strategy" drop down list |
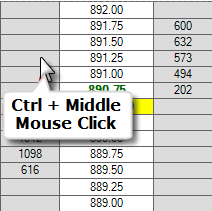
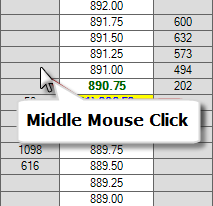
| • | Submit your stop order to sell below the market |
| • | CRITICAL: Right click in the SuperDOM and select the menu item to disable OCO from being applied to subsequent orders. |
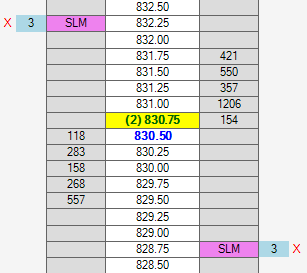
For a market fade approach just substitute limit orders for stop orders.
Using the OCO Function to Bracket an Open Position
If you have an open position without an ATM strategy attached, and you wish to add limit and stop orders to protect the position follow these steps:
| • | Set the ATM strategy in the ATM Strategy selection drop down box to a value of |
| • | Right click in the SuperDOM and enable OCO order placement by selecting the menu name "" |
| • | Then place a limit order where you want to exit at a profit |
| • | Then place a stop order where you want to exit at a loss |
| • | Lastly, right click again and select the menu item "" to disable the OCO order placement |
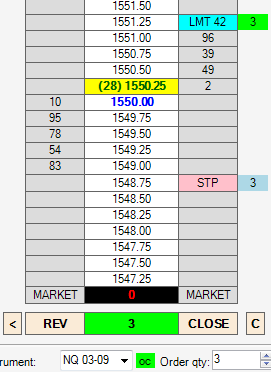
Now you have a target and a stop placed protecting your open position, and when one of these orders is filled the other will be cancelled automatically.
|