Offsetting an Item Value
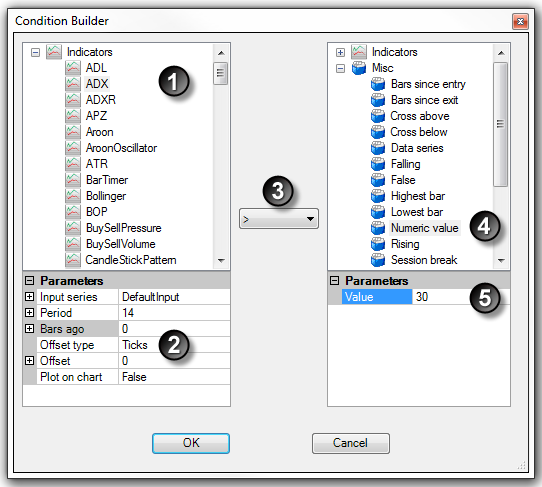
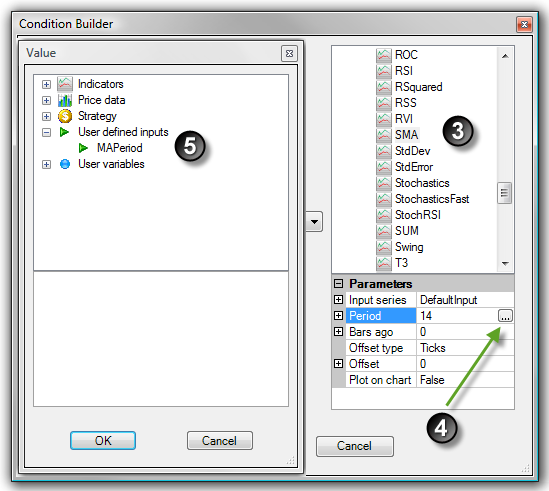
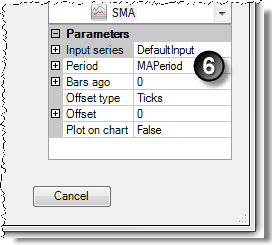
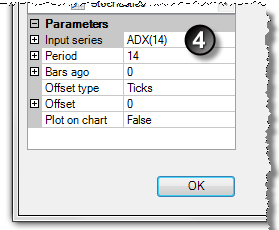
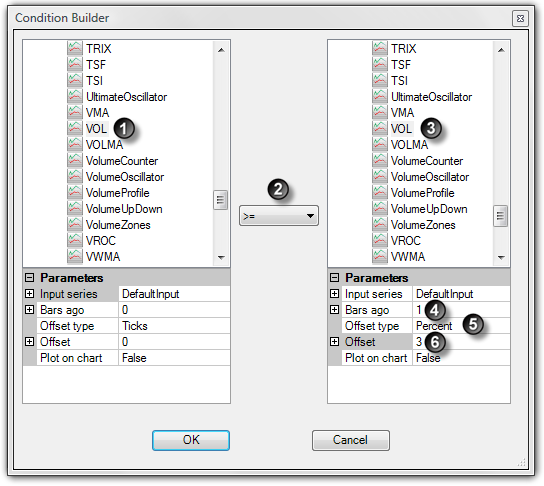
You can offset the value of most items available in the Condition Builder. An offset is a value that is added or subtracted from the actual item's value. When an item is selected such as an indicator or price data, the Offset type and Offset parameters become visible in the window directly below the item selected. This is shown as numbers 5 and 6 in the image below.
Offset type can be set to:
Percent
|
Adds or subtracts a percentage value of the item's value. A value of 1 is equal to 100% where a value of 0.1 is equal to 10%.
|
Price
|
Adds or subtracts an absolute value
|
Ticks
|
Adds or subtracts the number of ticks (0.01 for stocks and the tick size for futures or currencies) from the item's value
|
Once the Offset type is selected, you must set the value Offset. In addition to the example below, you can see the "Checking for Volume Expansion" section below for another example that uses the Percent Offset type.
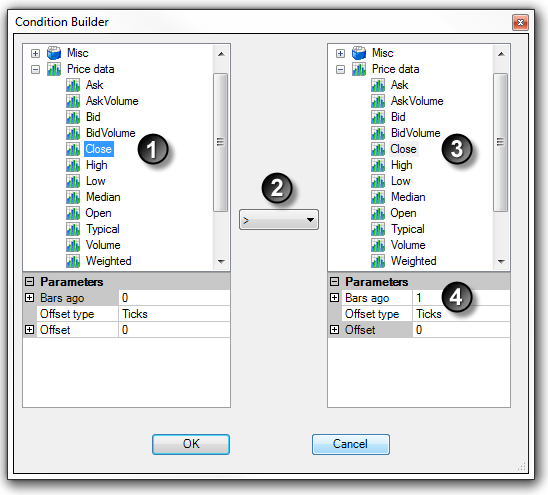
The following is an example and represents one of many possible combinations:
1. Expand the Price data category and select the Close
2. Select the > (greater than) relational operator
3. Expand the Price data category and select the High
4. Set the Bars ago parameter to a value of "1"
5. Set the Offset type parameter to Ticks
6. Set the Offset parameter to a value of "1"
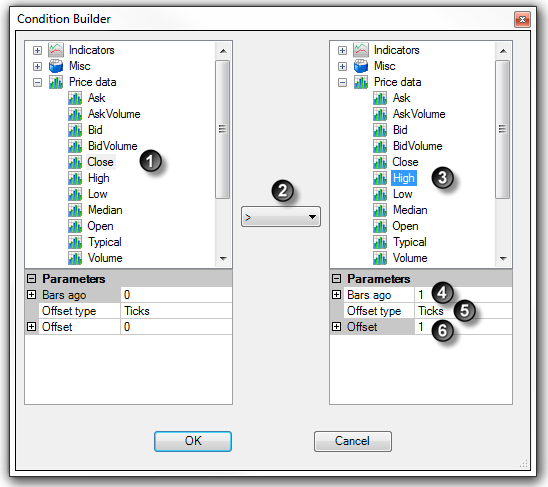
Once the OK button is pressed, a condition is created that would translate to the following:
"Current closing price is greater than the high price of 1 bar ago + 1 tick"
|